
A DIY faux greenery wall is basically a backdrop that is made of fake plant panels. And these panels look like a real vertical garden.
Today, we share with you the ultimate guide on how you can create your own faux greenery wall. Let’s get right into it.
What is a Faux Greenery Wall and Why Should You Build One?
A faux greenery wall uses synthetic plant panels to mimic the texture of real leaves. It is also known as grass walls or silk feature walls. But unlike living walls, they do not need those complex watering systems or constant care.
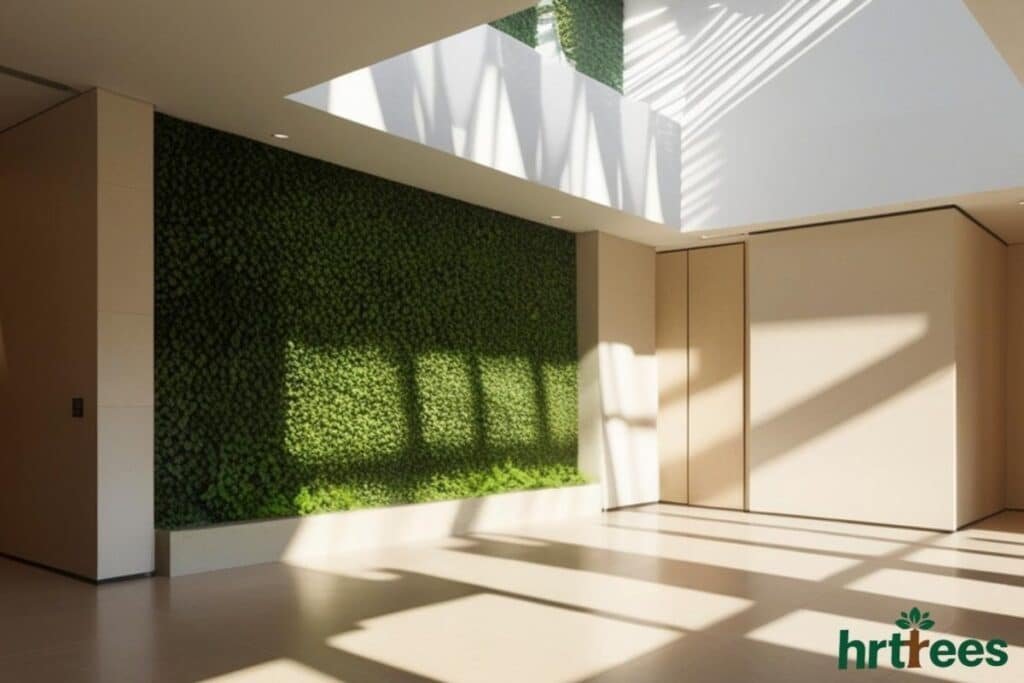
When you build a faux greenery wall it lets you bring the calming nature vibe indoors. It’s the perfect way to anchor a room if you already love using artificial plants and trees to brighten up your space.
What also makes this project ideal is it hides those wall marks that you are a bit ashamed of. It also dampens sound in loud rooms.
How Long Does a DIY Greenery Wall Take and What is the Cost?
You can get your DIY greenery wall done in just a few hours. Let’s have a look at the table below:
| Metric | Estimation |
| Time Commitment | 2–4 Hours |
| Difficulty Level | Beginner (1/5) |
| Estimated Cost | $50 – $200 (It all depends on the square footage) |
| Lifespan | 5–10+ years (indoor) |
What Supplies Do You Need for a DIY Faux Greenery Wall?
If you want a DIY faux greenery wall that actually looks real, don’t buy the cheapest stuff. The lower-quality panels can look thin and may shed leaves everywhere. Go for a thick base. This is so you don’t see the wall peeking through.
Choosing the Right Greenery Panels
You’ll usually see panels made of PE plastic or silk. Let’s see how they compare.
- PE Material: Best for durability and often UV-rated so they won’t fade. They have a realistic, “waxy” feel similar to actual boxwood or ivy.
- Silk/Fabric: Softer to the touch but strictly for indoor use, as they can attract dust and fade quickly.
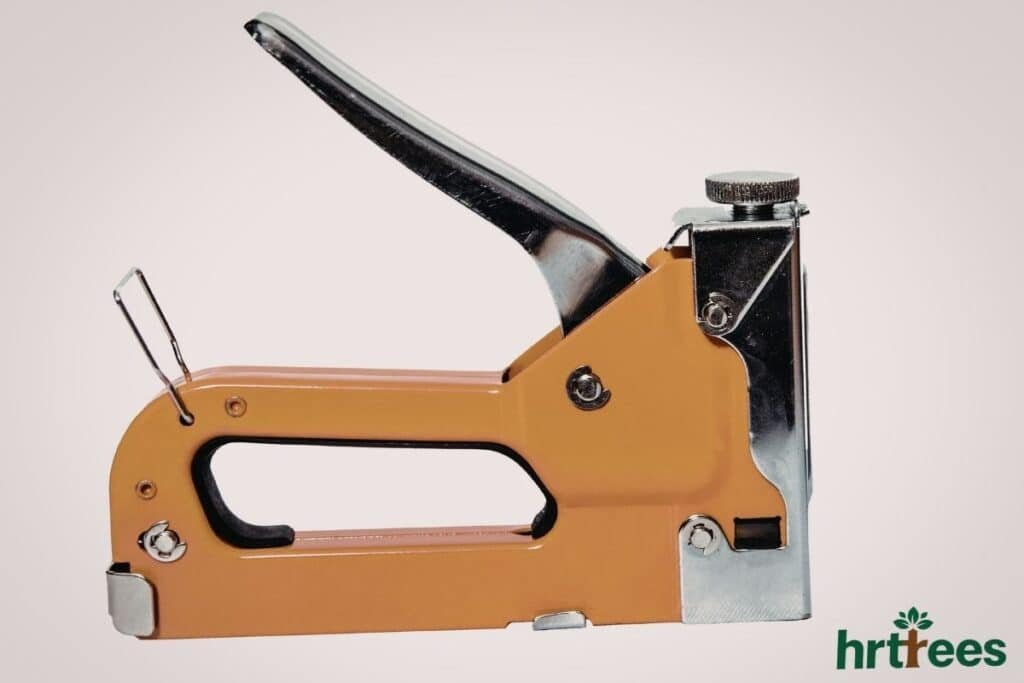
Essential Tools: Staple Guns, Zip Ties, and Backing Frames
You don’t need a huge toolkit for this. The following is all you need to create your DIY faux greenery wall:
- A staple gun – Fast and perfect for pinning panels to a wall or wood frame to prevent sagging.
- Green zip ties – A lifesaver for locking panel backs together into one solid, seamless sheet.
- Backing frames – Use plywood or a trellis to build your wall as a “massive picture” if you want to protect your drywall.
Step-by-Step Guide: How to Install Your Faux Greenery Wall
Installing your faux greenery wall will only take four steps. These steps will keep the panels straight. And they will also help hide the lines between the squares.
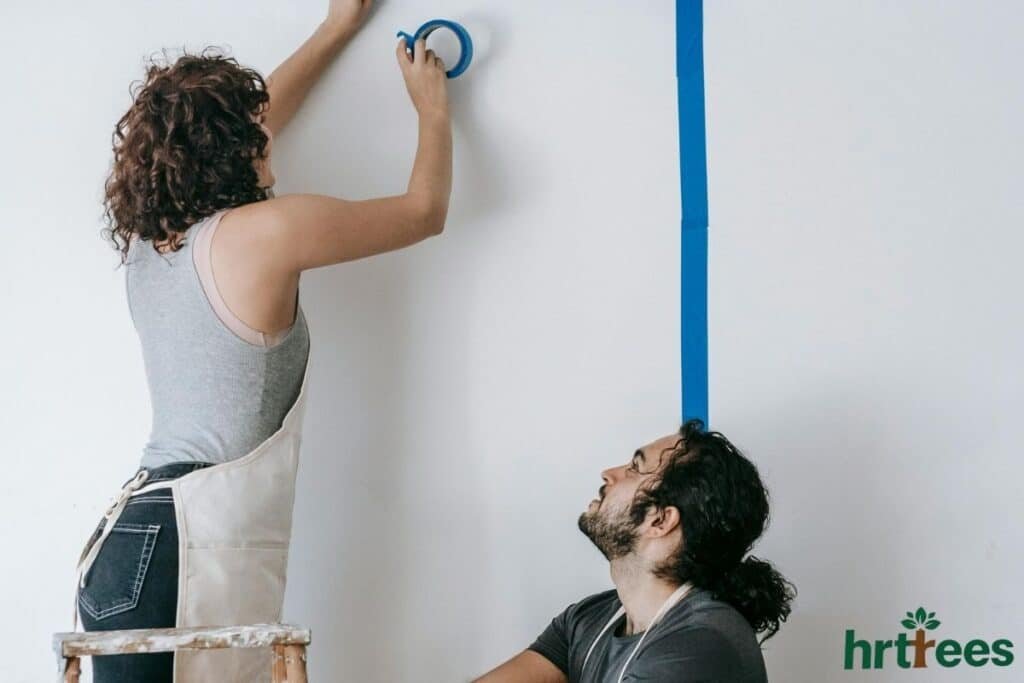
Step 1: Measure and Clean
Measure your wall before you spend any money. You will see that most of these squares come in 20-inch or 24-inch sizes. Grab a cloth and wipe the wall to get rid of any dust.
Step 2: Pick Your Backing
Decide if you want to keep the wall forever. If you are renting you should paint a thin piece of plywood dark green and hang that first. This will protect the drywall and hide gaps. If you are a homeowner, you can staple the panels right to the wall.
Step 3: Connect and Mount
Lay the panels on the floor. Snap them together by using the built-in pins and holes. Okay, now lift the row up and staple it to the wall every 6 inches along the top.
Step 4: Fluff the Leaves
Run your fingers over the spots where the panels meet. This will blend the leaves together to hide the seams. Then gently pull the leaves forward with your hands. This will fix flat spots from the box and make the wall look thick.
Rent-Friendly vs. Permanent: Which Installation Method is Best?
Renters should use sticky Command hooks and a wire grid. This will save you your security deposit. If you are a homeowner you can use a staple gun for a strong hold.
The best installation method will depend entirely on your living situation. As well as how long you plan to keep your DIY faux greenery wall in place.
| Feature | Rent-Friendly | Permanent Mount |
| Attachment | Command Hooks / Tension Rods | Staple Gun / Screws |
| Damage | Zero to minimal | Small holes in drywall |
| Stability | Moderate | High |
| Best For | Apartments / Events | Home Offices / Patios |
4 Tips to Make Your Artificial Wall Look Real
If you want to fool your friends and family into thinking your DIY faux greenery wall is real, you can follow these four tips below.
- Mix in extra stems – Poke some loose ivy or fern leaves into the grid once you finish. This breaks up the flat edges and makes the wall look thick and full.
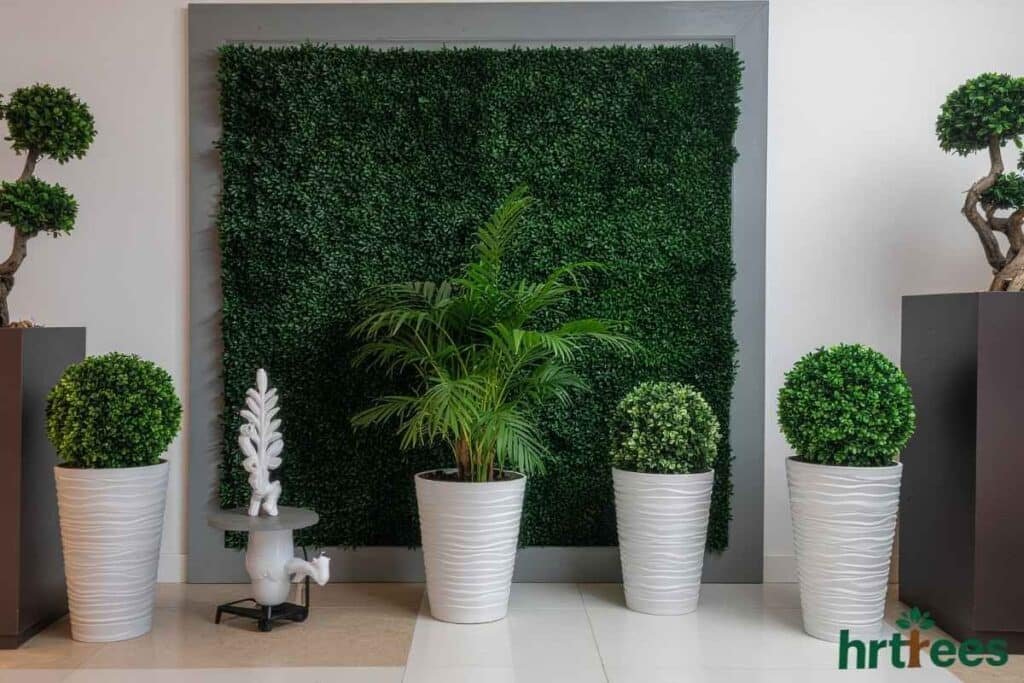
- Style with “real” friends – Place a large potted plant, like a faux Fiddle Leaf Fig, right in front of your greenery wall. It will add depth and make the whole setup look like a living, breathing garden.
- Skip the shine – Real plants usually have a duller look. Buy panels with a matte finish so they do not look like cheap plastic under your lights.
- Watch the leaf direction – Most panels have a “grain” where the leaves point a certain way. Hang every panel facing the same direction so the light hits them all evenly.
Common Mistakes to Avoid When Building Your DIY Grass Wall
Here are two things to watch out for so your wall stays looking great:
- Don’t leave a white wall behind your plants – White paint shows through the tiny gaps in the leaves. Paint the wall or your wood frame a dark green first so everything blends in.
- Use zip ties – Staples alone usually aren’t enough. Use green zip ties to lock the panels together so they don’t sag or start to pull apart later.
Enjoy Your New DIY Faux Greenery Wall and Quieter Space
Building a DIY faux greenery wall is the best way to hide ugly wall marks and quiet a loud room. Just remember to use a dark base, snap your panels together with zip ties, and fluff those leaves. While this guide is perfect for home DIYers, you can also find artificial green walls for commercial spaces designed for larger office or retail environments.
What are you waiting for? Grab your favorites at HRtrees to get started. Transform your home’s flaws into foliage and let your walls whisper, not shout.


